Alteon Switched Firewall 6000 Installation - Part 2
Posted On Oct 28, 2008 at at 9:50 PM by DophiThe firewall function of NSF is provided by CheckPoint. The latest version which NSF supports is NGX R65. In Part 1, I have done the initialization of single NSF system and this part focuses on the configuration of CheckPoint.
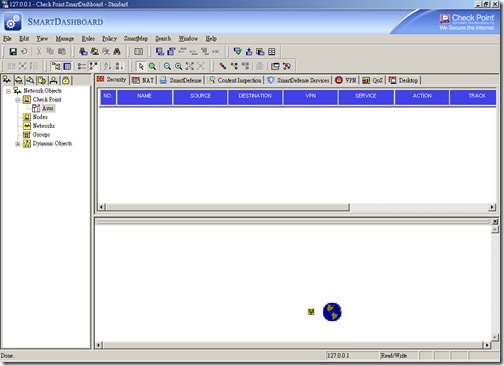
1. Login in to Smart Dashboard as Administrator:
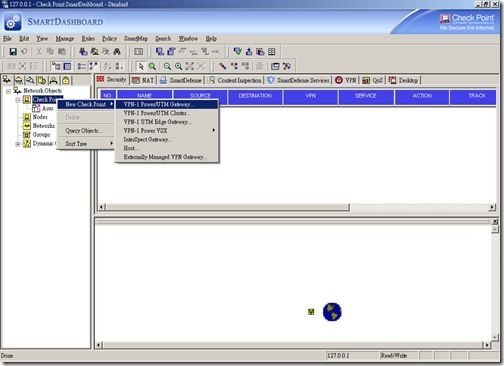
2. Add a new gateway: Right click on the CheckPoint object and select "New CheckPoint" → "VPN-1 Power/UTM Gateway"
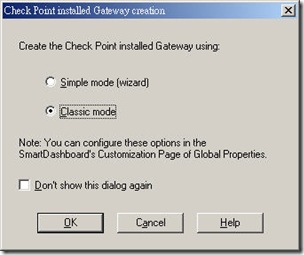
3. Create a new CheckPoint gateway: Select "Classic Mode" to create a new gateway.
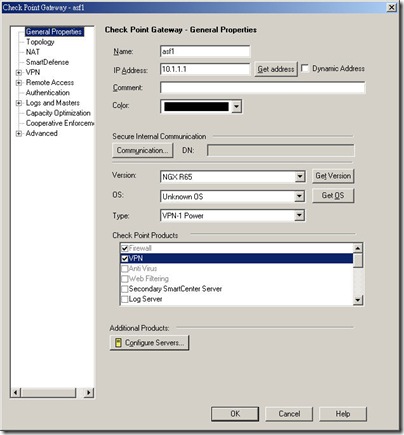
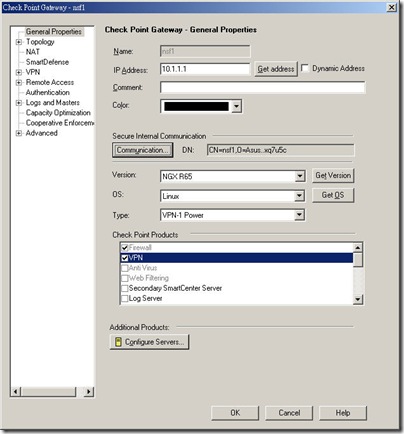
4. Setup the name and IP address of gateway: The IP address is the firewall director IP address (10.1.1.1) I created during the initial of NSF. Check "Firewall" and "VPN" and uncheck "ClusterXL" of Check Point Products installation because NSF 6000 doesn't support ClusterXL.
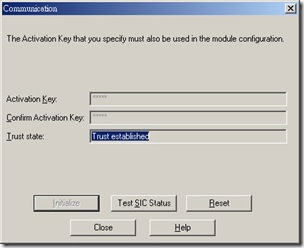
5. Establish trust between the SmartCenter and the Firewall Director: Click "Communication" in the Gateway Properties window and use the SIC password created during NSF initialization to establish the communication.
6. Change the OS type: After the SIC has been established, SmartCenter gets necessary information from firewall director but OS type is set to "Unknown". Change OS from "Unknown" to "Linux".
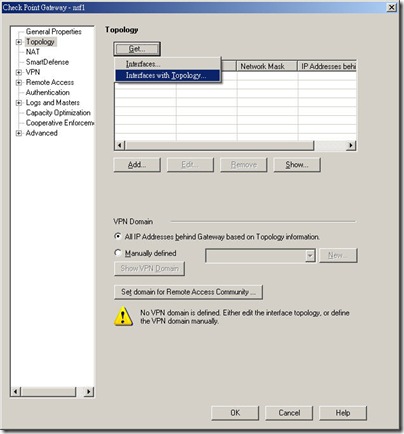
7. Get the interfaces for the Firewall Director object: In the Topology section of the Check Point Gateway window, click "Get Interfaces with Topology".
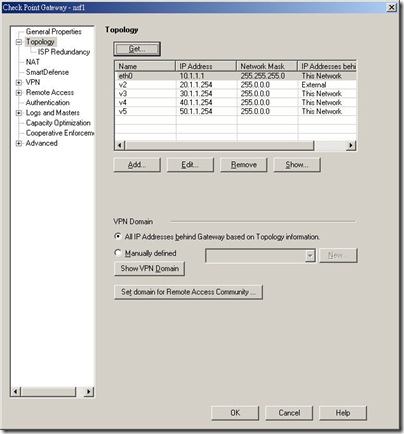
8. Verify the Interfaces and Topology of Firewall Director: Once it has been done, SmartCenter receives any interfaces from firewall director and creates topology automatically. The interface "v2" is assigned as an external interface due to the default gateway setting.
9. Change the maximum concurrent connections of gateway: The default maximum concurrent connection only 25,000 and the capacity of NSF6600 is over it. Select "Capacity Optimization" to change the maximum concurrent connections to 500,000. The maximum capacity depends on NSF 6000 hardware module, refer to the official document before change it.
10. Clieck "OK" to close the Gateway Properties window and select File → Save from the SmartDashboard tool menu bar.
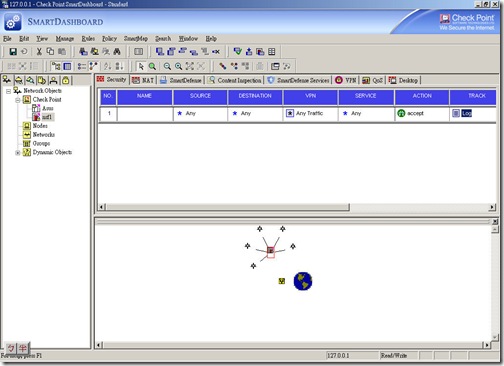
11. Create a policy to allow any traffic pass trough NSF for lab purpose.
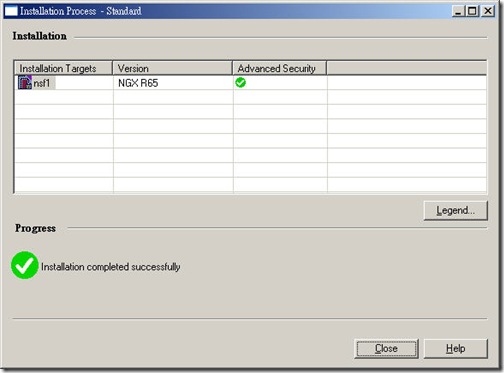
12. Push the policy to the Firewall Director: From the menu bar, select Policy → Install. When the Install Policy window appears, select the firewall object and click on the OK button.


